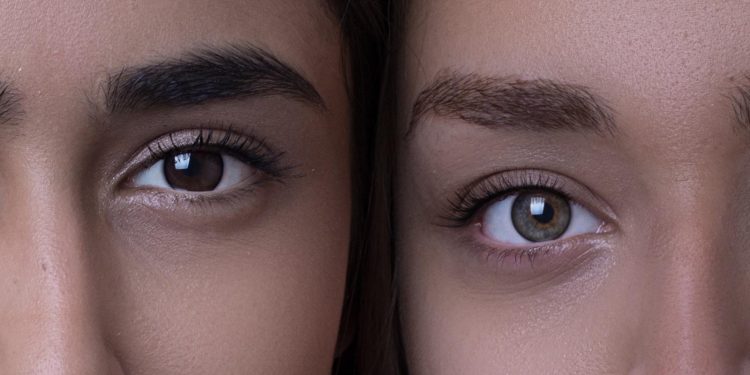
Imagine being the canvas and the artist, where your face beacons for a touch of brilliance and depth, yearning for shadows and light to play upon its surface. Welcome to the realm of highlighting and contouring, a transformative art form that makes the difference between flat and life-like portraits in beauty. With these techniques, a ‘glow up’ is just brush strokes away. If you’re new to this terrain or have only been witness to its incredible results, fear not. You have arrived at your Beauty 101 tutorial, where we demystify the magic behind highlighting and contouring with crucial tips and techniques for beginners. The goal? Bringing your face to life, adding the perfect luminescent glow, carving in delightful definition, and proving that even in the world of beauty, you can make light work for you. Whether you’re a makeup novice or a dabbling artist, let’s dive into this illuminating game of shadows and light that remarries style and symmetry in a dazzling ‘glow up’. The art of mastering highlighting can seem intimidating for beginners, but rest assured, a little practice can go a long way. Start by prepping your skin with a good moisturizer to ensure a seamless application. For highlighting, you want to focus on the high points of your face where the light naturally hits. These include your cheekbones, the bridge of your nose, under your brow bone, and on your cupid’s bow. For a natural look, select a highlighter that matches your skin tone or is one shade lighter. Use a small brush or your fingertips to lightly apply the product. Remember, less is more!
Moving on, contouring is the technique that will add dimension to your face by creating shadows. First, remember to select a contour shade that is two to three shades darker than your skin tone. Focus on the hollows of your cheeks, your jawline, the sides of your nose, and your forehead. Using an angled brush, apply the product in these areas and blend well to avoid any harsh lines. Achieving the perfect contour is all about blending! Here is a simple guide to help you understand where to apply your contour:
| Cheeks | Apply in the hollows, blending towards your hairline |
| Nose | Apply on the sides, blending downwards |
| Jawline | Apply at the edge, blending downwards |
| Forehead | Apply at the edges, blending into your hairline |
Finally, one way to ensure a flawless finish is by using high-quality products that complement your skin type. Some popular picks include the Anastasia Beverly Hills’ Contour Kit for powders and the Fenty Beauty Match Stix for cream formulas. Be sure to set your makeup with a good setting spray to ensure longevity. Keep in mind these Pro Secrets: Cold tones work best for contouring, while warm tones should be used for bronzing. And remember, practice makes perfect, so don’t be disheartened if you don’t nail it on the first few tries! There you have it, greenhorn glow-getters— basic tips and tricks to navigate through the mesmerizing maze of highlighting and contouring. But remember, the path to perfect glam isn’t about precise steps or strict rules, it’s about discovering what works best for your unique features and effectively enhancing your natural beauty. So, run wild with your bronze and blaze with your highlight. Let your artistic spirit reign and remember that practice is the key. When your reflection beams back at you, it won’t be just because of the highlighter, but the vibrant glow of confidence radiating from within. Welcome to your phenomenal journey to wherever you define as your glow up.
<img class="bimage_class" src="http://www.mobilellifeclub.com/wp-content/uploads/2024/03/photo-1622125124161-07695cf9df9b.jpg" alt=""Glow Up: Highlighting and Contouring Tips for Beginners"">


